Tutorial: Create a database from scratch
Index DICOM metadata in a MongoDB instance
Overview
In this tutorial, you will create a database from scratch and add the metadata from 1693 public DICOM images.
In summary this is what you will do:
Download public DICOM data from TCIA.
Create a free MongoDB Atlas Cluster.
Ingest the metadata from the DICOM files into the database.
1. Download public DICOM data.
You will download the pseudo-PHI dataset from TCIA that has been published in A DICOM dataset for evaluation of medical image de-identification.
1.1 To do so, let’s first install the NBIA Data Retriever by following these instructions.
1.2 Then we obtain the (DICOM, 609 MB) Evaluation dataset manifest by downloading the first item of pseudo-PHI.
1.3 The next step is to open the file that you just obtained (Pseudo-Phi-DICOM Evaluation dataset April 7 2021.tcia) with the NBIA Data Retriever
1.4 Then click on the “Browse” button and select a suitable folder in your computer.
From now on we will refer to this folder as /path/to/pseudo-PHI you will have to replace it with the location where you want to download the data.
1.5 Finally click Start.
You should see a screen like this:
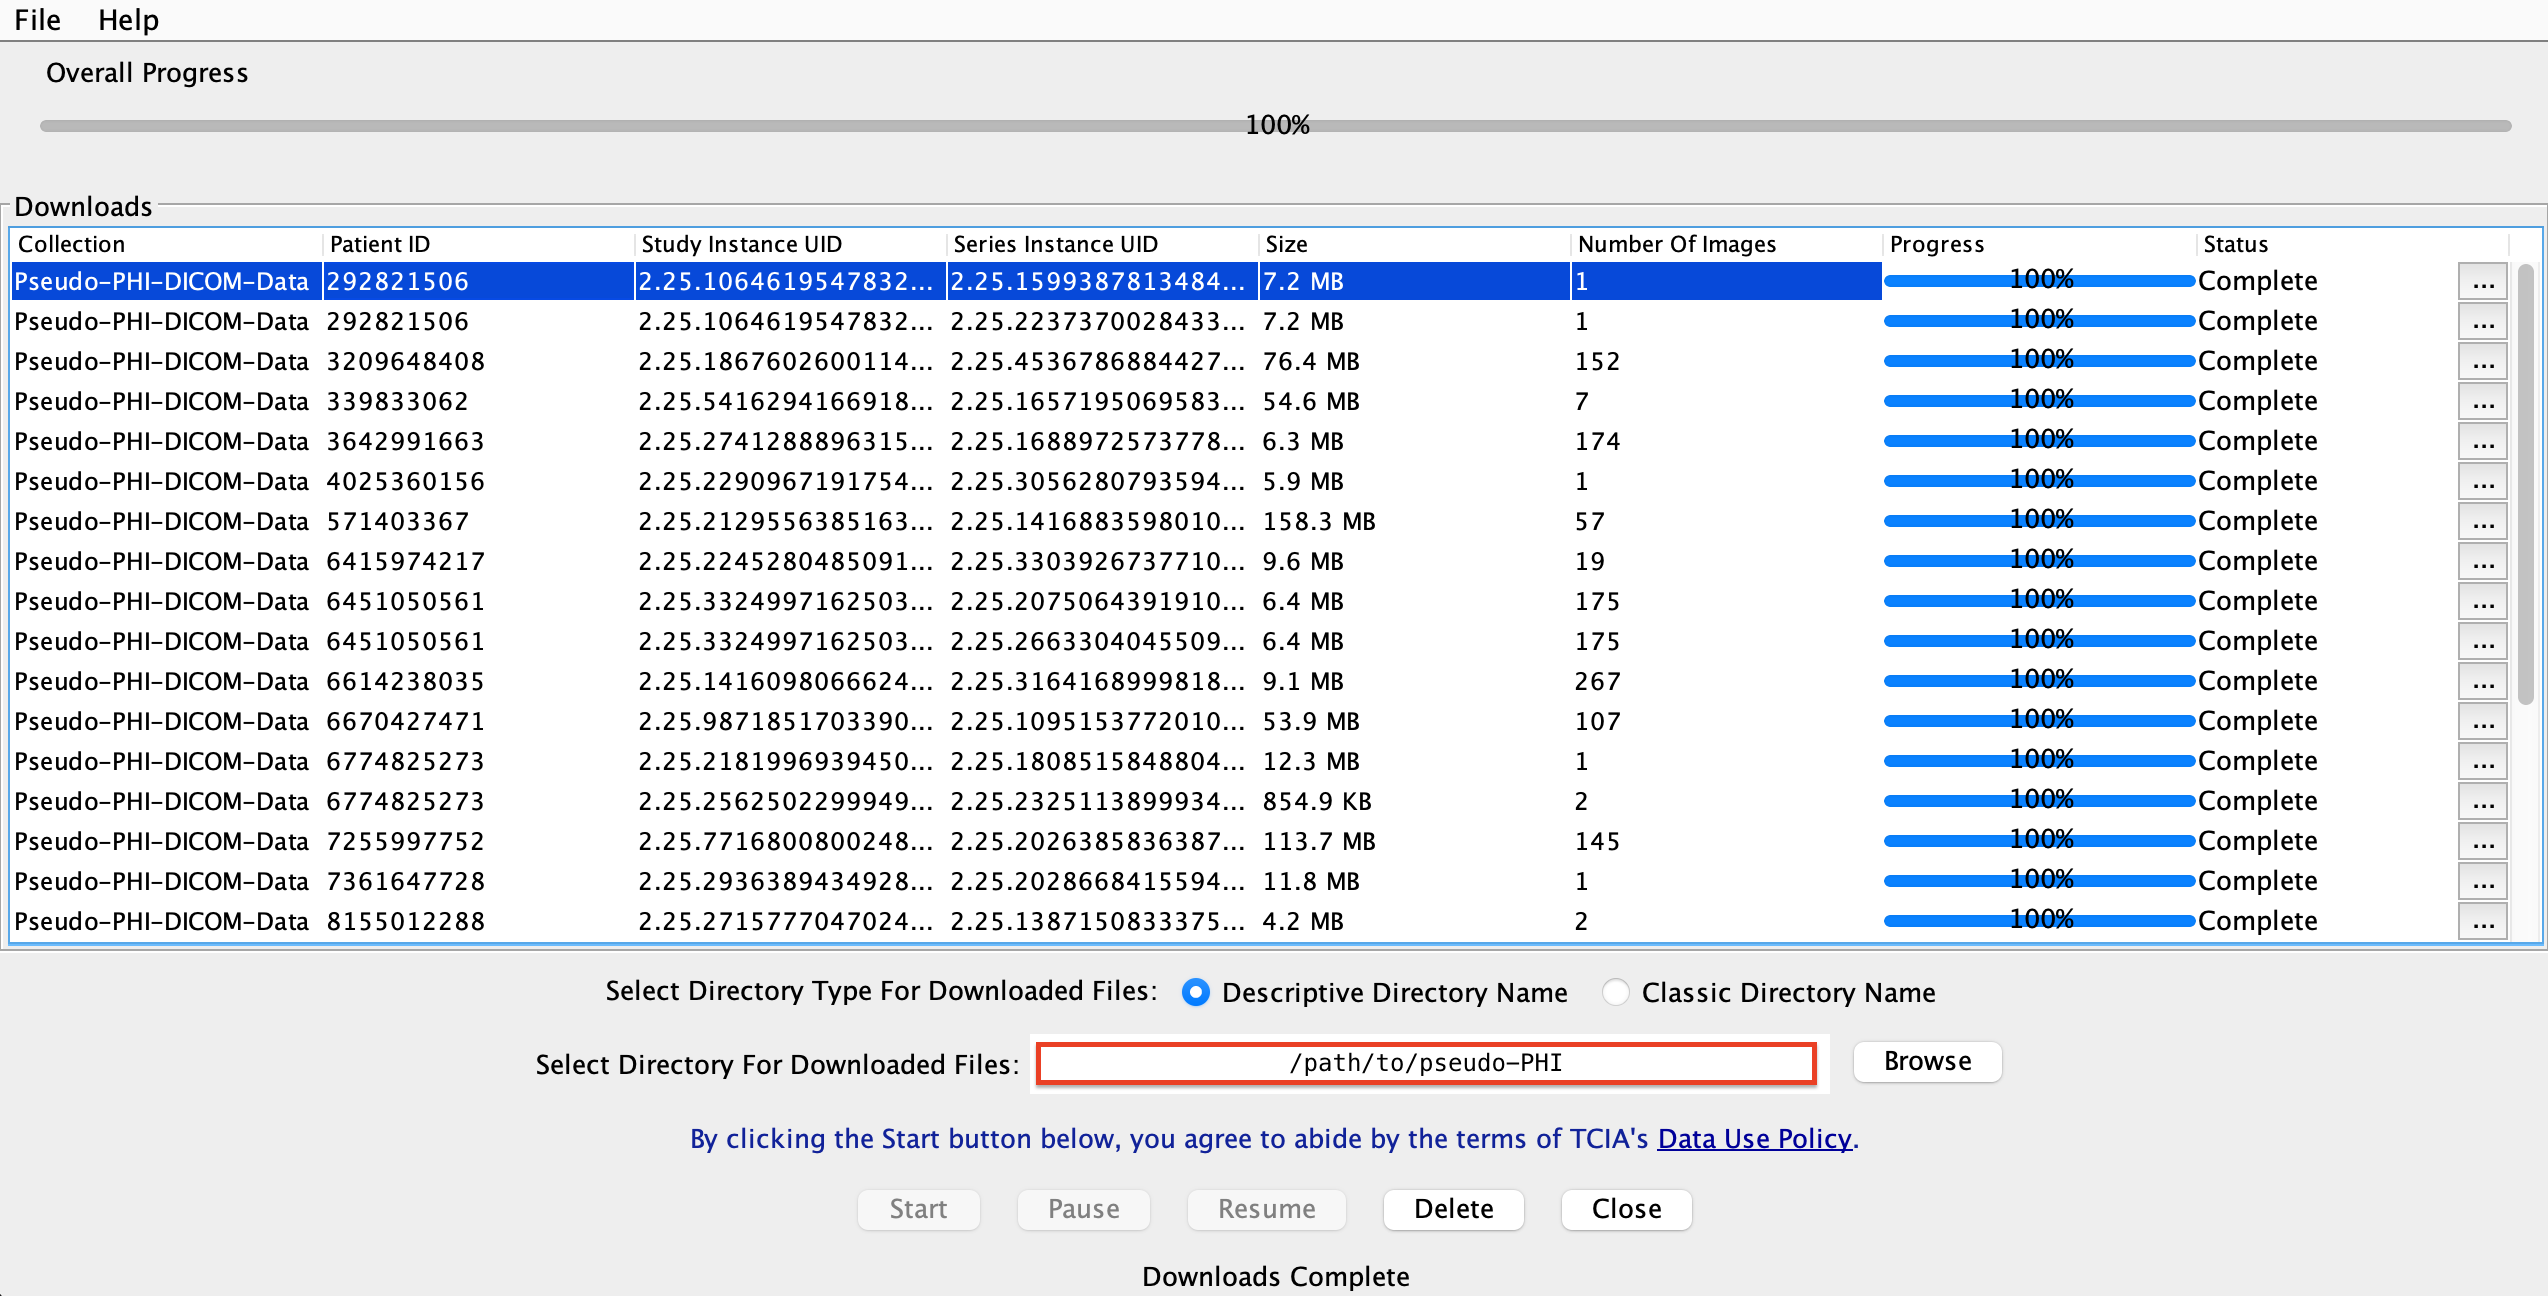
Congratulations, now you have 1693 dicom files in your local.
2. Create a free MongoDB Atlas Cluster
This step allows us to headstart the ingestion without having to set up a local database.
2.1 Go to Atlas and click the Try Free button.
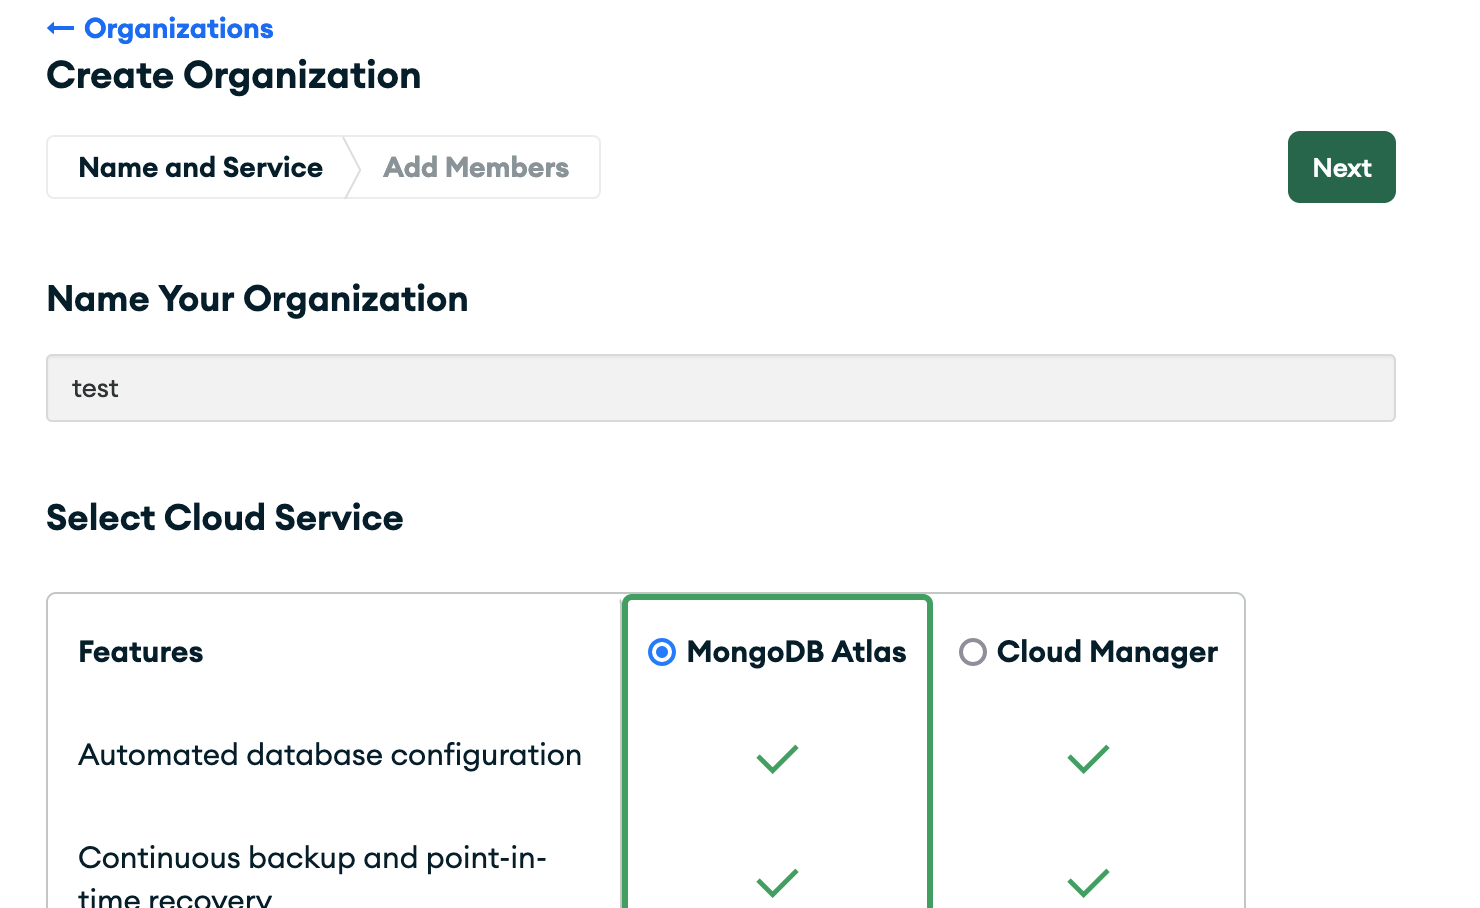
This will take you through a Sign-up process. After you are done creating your account,
you may be asked to create an organization. If an organization is already present, you
can skip this step and go directly to creating the project (2.2). When you create the
organization, you should name it and pick the MongoDB Atlas feature.
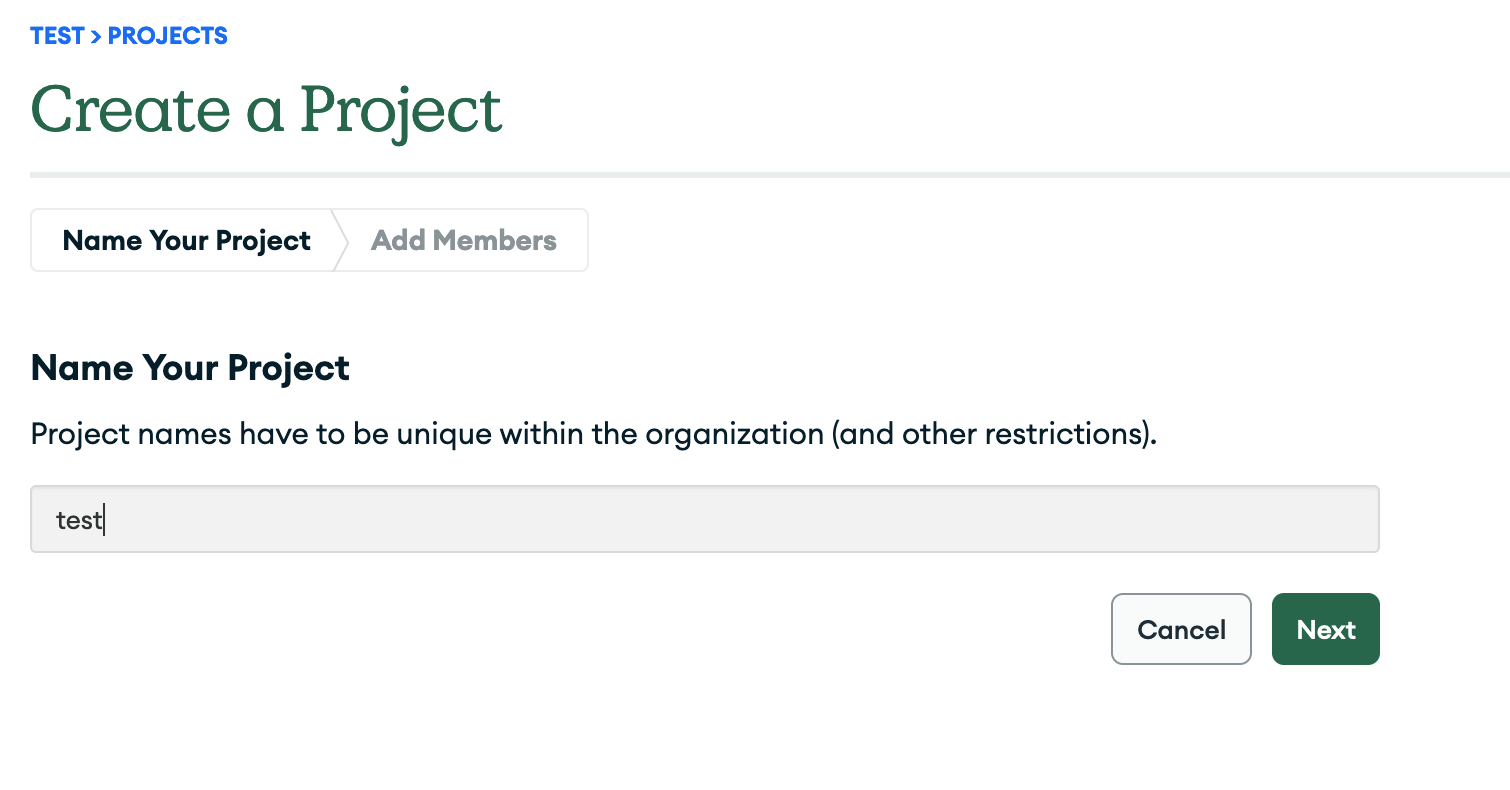
2.2 Then create a project.
2.3 You can now start the creation of the database by clicking on Build a Database.

Make sure to select the Free Tier
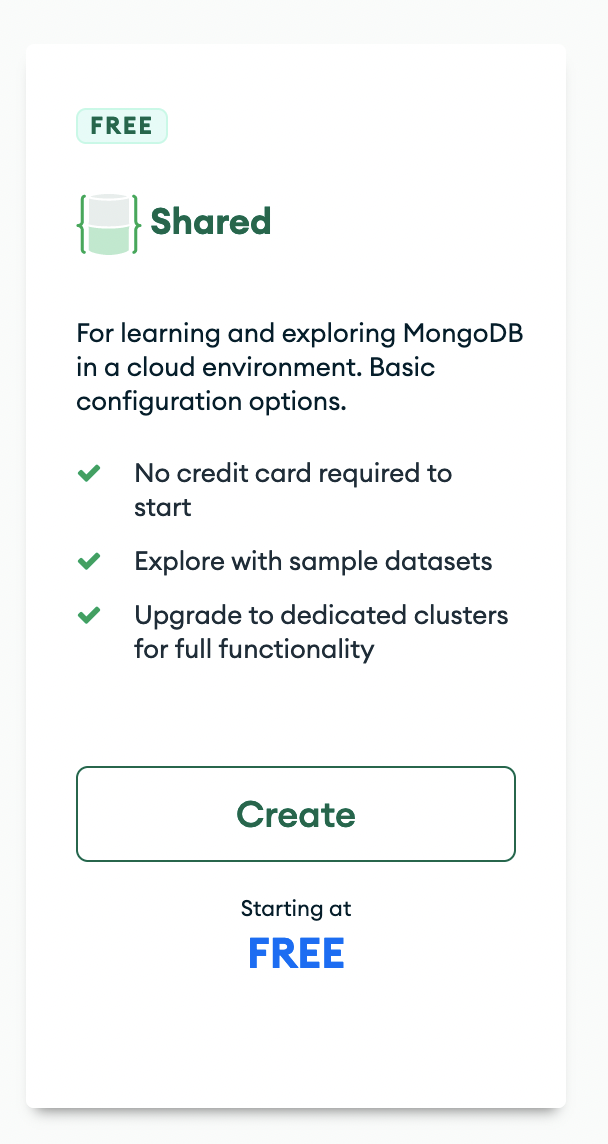
To keep the free tier, you will need to keep the default settings. Go ahead and create the cluster.

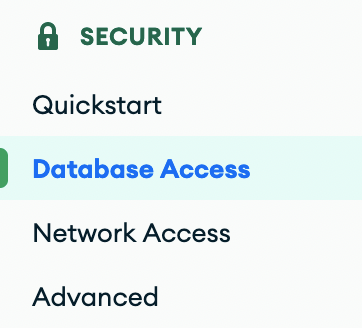
2.4 After the cluster is created, navigate to the Database Access tab.
2.5 And Add new database user

2.6 Configure the username as test_user and create the password with Autogenerate Secure Password. Make sure to copy the password as it will be used in a later step.
From now on we will refer to this generated password as your_mongodb_pass.
2.7 Select the Built-in Role Read and write to any database

2.8 Finally get the host address of your database
On the left menu, go to
DatabaseClick
ConnectionGo to connect your application
Copy the string that looks like
cluster...netand save it so you can use it in the next steps.
3. Ingest the metadata from the DICOM files into the database
It is now time to use the cobra_db package to ingest the files.
Important
Python 3.9 or above is a requirement for this step. Depending on you OS, there are multiple ways to install python. An opinionaned method, is by first installing Miniconda and then creating a conda environment as shown below.
(optional) 3.1 Following best practices, you can create a python environment:
conda create -n cobra python=3.9 -y
# after the enviroment is created
conda activate cobra
3.2 Then install the cobra_db package from pypi
pip install cobra_db
3.3 The password for the database will be read from the environmental variables. Export it by running the following command (replacing with the password that was generated in step 2)
Tip
If your password contains special characters or spaces, single quotes must surround your password.
export MONGOPASS='your_mongodb_pass'
3.4 Now prepare a text file called ingest_my_data.sh where you replace the path to
your downloaded data and your cluster host.
Important
Remember to replace the values that are surrounded by < ... > with the settings
obtained from previous steps (1.4 and 2.8). The characters < > should not exits in
your file.
cobra_ingest \
    --drive_names PseudoPHI \
    --drive_paths </path/to/pseudo-PHI> \
    --host <cluster...mongodb.net> \
    --username test_user \
    --database_name my_tutorial_0 \
    --num_processes 1 \
    --project_name test_project
Tip
You can increase the –num_processes to make use of multiple CPUs. Just remember to keep it below the number of CPUs that your system has available.
3.5 You can now run the ingestion with
bash ingest_my_data.sh
3.6 If everything worked correctly, you should be able to see a progress status in the terminal. It will be done in about 3 minutes if you selected only one process.
3.7 Let’s now install Compass to see the results of the ingestion.
3.8 In compass enter your credentials and connect to your Atlas instance. This can be done
by using a string similar to mongo+srv://test_user:<password>@<host>/test where you replace
the password and host with the settings that you obtained in steps 1.4, and 2.6.
Under my_tutorial_0/ImageMetadata you should be able to see all the metadata of the images that you just downloaded.
Attention
Notice how the dicom tags have been stored as key-value pairs and that we have replaced the tags with keywords to improve readability.
Congratulations on finishing the first tutorial! Now you can explore the ImageMetadata collection with your own queries and aggregations.
Tutorial: Group Series, Studies, and Patients.
This tutorial builds on top of the first tutorial. You will group the images that were previously ingested to obtain three new collections: RadiologicalSeries, RadiologicalStudy, and Patient.
First, create a text file called group_my_data.sh with the following content:
cobra_group \
    --host <your_db_host>.mongodb.net \
    --username test_user \
    --database_name my_tutorial_0 \
    --num_processes 1 \
    --project_name test_project
Then run it
bash group_my_data.sh
Note
If you are using Compass to look at the data you might need to reload in order to see the new collections.
In this case, we are only allowing the Modalities in cobra_db.enums.Modality to be grouped, everything else is ignored.
Congratulations! you have now three new collections that summarize the images at different aggregation levels.